先日、ESP32の環境構築を行いましたので、いくつかのサンプルスケッチで、動作確認をしてみたいと思います。
動作確認には、ESP32 DevKitCを使いました。
リンク
リンク
アナログ入力
- 「ファイル」→「スケッチ例」→「01.Basics」→「AnalogReadSerial」を開く。
- loop関数内のdelayを 1 から 1000 に変更。
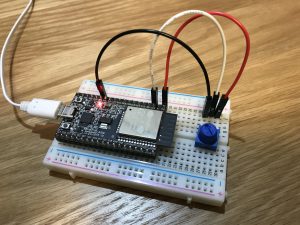
- 可変抵抗の出力を、SVP(A0)に接続。
// the setup routine runs once when you press reset:
void setup() {
  // initialize serial communication at 9600 bits per second:
  Serial.begin(9600);
}

// the loop routine runs over and over again forever:
void loop() {
  // read the input on analog pin 0:
  int sensorValue = analogRead(A0);
  // print out the value you read:
  Serial.println(sensorValue);
  delay(1000); // delay in between reads for stability
}
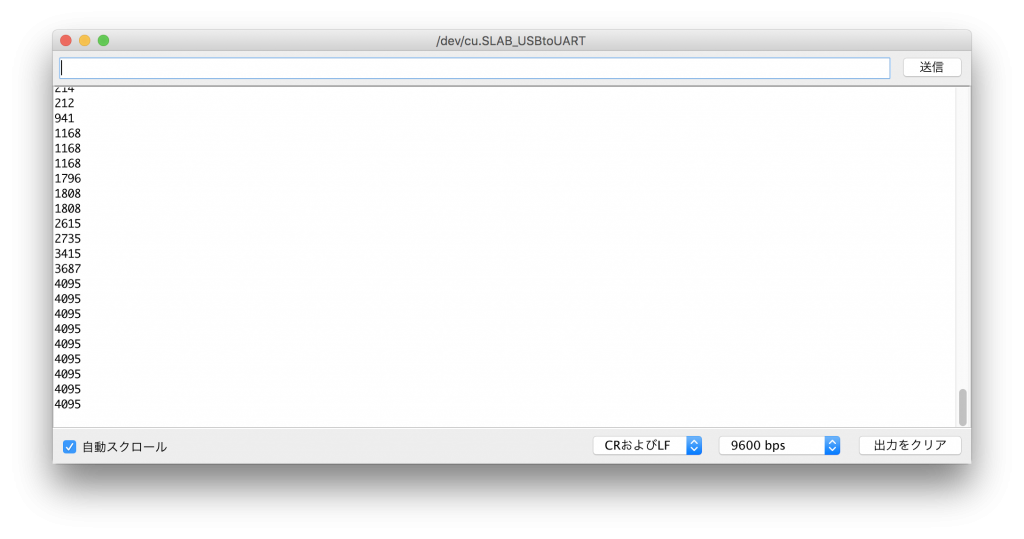
可変抵抗を回すと、0〜4095 の範囲で値が変化します。
タッチセンサ(TouchRead)
- 「ファイル」→「スケッチ例」→「ESP32 Dev Module用のスケッチ例」→「ESP32」→「Touch」→「TouchRead」を開く。
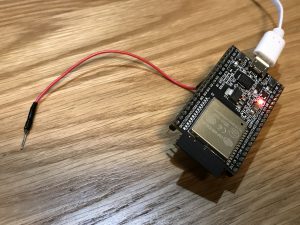
- IO4(T0)にジャンパー線を接続。
void setup()
{
  Serial.begin(115200);
  delay(1000); // give me time to bring up serial monitor
  Serial.println("ESP32 Touch Test");
}

void loop()
{
  Serial.println(touchRead(T0)); // get value using T0
  delay(1000);
}
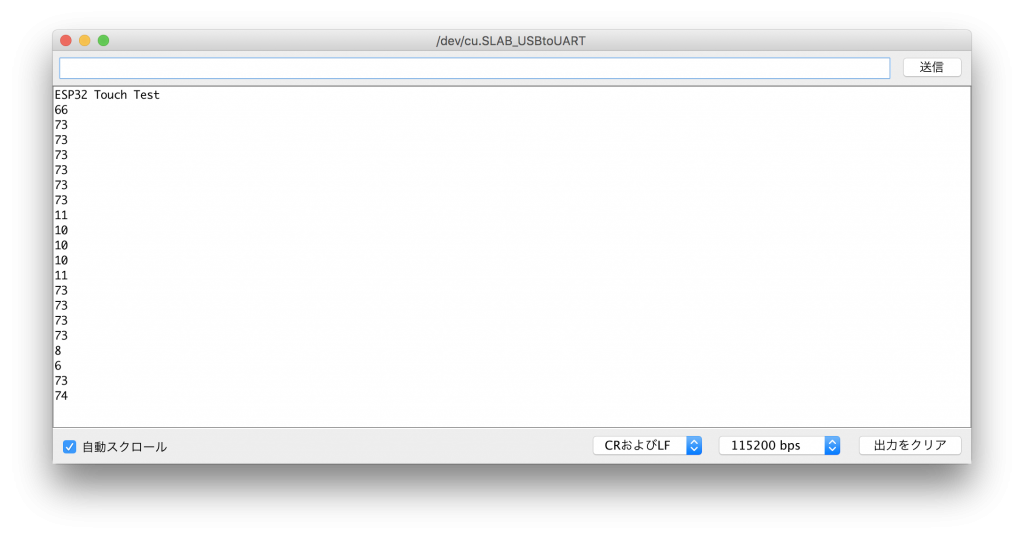
ジャンパー線に触れていないときには 70 程度の値ですが、触れると 10 程度に変化します。
個人的には、紙やプラスチック板を間にはさんだ状態でタッチを感知できれば、と考えていたのですが、紙をはさむと、値の変化がごくわずかになってしまい、そのような用途には使えなさそうです。
タッチセンサ(TouchInterrupt)
- 「ファイル」→「スケッチ例」→「ESP32 Dev Module用のスケッチ例」→「ESP32」→「Touch」→「TouchInterrupt」を開く。
- IO2(T2)、IO15(T3)にジャンパー線を接続。
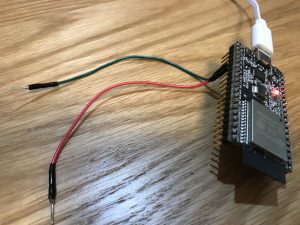
int threshold = 40;
bool touch1detected = false;
bool touch2detected = false;
void gotTouch1(){
touch1detected = true;
}
void gotTouch2(){
touch2detected = true;
}
void setup() {
Serial.begin(115200);
delay(1000); // give me time to bring up serial monitor
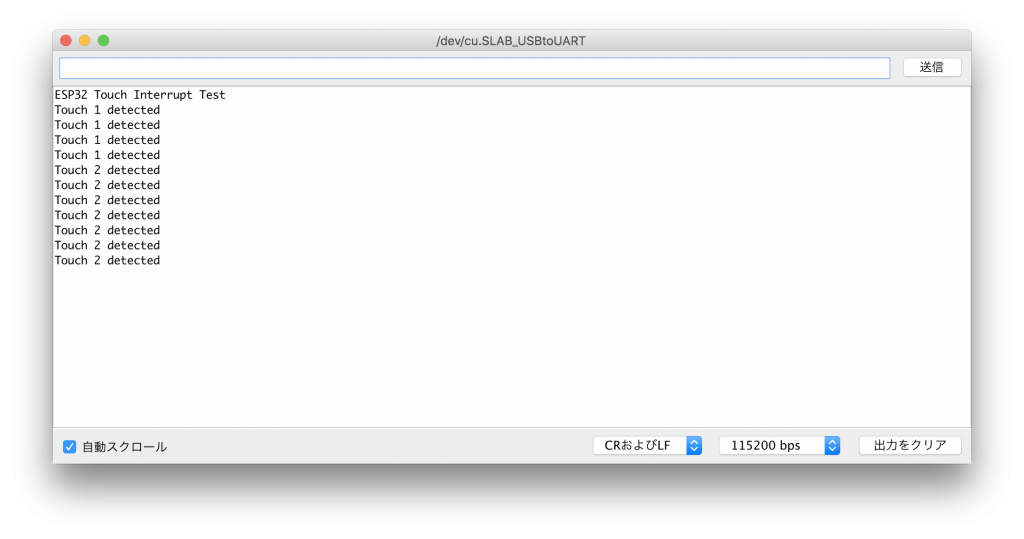
Serial.println("ESP32 Touch Interrupt Test");
touchAttachInterrupt(T2, gotTouch1, threshold);
touchAttachInterrupt(T3, gotTouch2, threshold);
}
void loop(){
if(touch1detected){
touch1detected = false;
Serial.println("Touch 1 detected");
}
if(touch2detected){
touch2detected = false;
Serial.println("Touch 2 detected");
}
}
ジャンパー線に触れると、「Touch 1 detected」または「Touch 2 detected」のメッセージが表示されます。
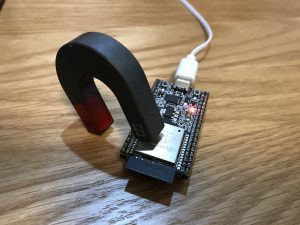
ホールセンサ
- 「ファイル」→「スケッチ例」→「ESP32 Dev Module用のスケッチ例」→「ESP32」→「HallSensor」を開く。
- loop関数内にdelay(3000)を追加。
int val = 0;
void setup() {
Serial.begin(9600);
}
void loop() {
// put your main code here, to run repeatedly:
val = hallRead();
// print the results to the serial monitor:
//Serial.print("sensor = ");
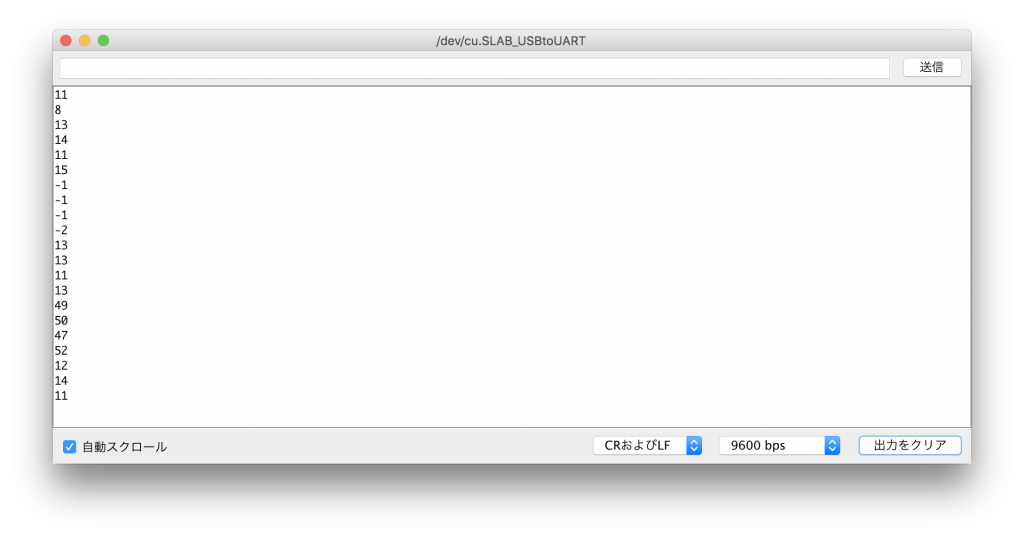
Serial.println(val);//to graph
delay(3000);
}
通常は 10 程度の値ですが、ESP32に磁石のN極を近づけるとマイナスに、S極を近づけると 40 程度に変化します。
リンク